Wood-burning pizza ovens are the epitome of culinary craftsmanship, and they offer a delightful way to create authentic, mouthwatering pizzas. The process of using a wood-burning pizza oven may seem daunting at first, but with a little guidance, you can master this ancient cooking method and elevate your pizza game to a whole new level. In this blog post, we’ll take you through the steps on how to use a wood-burning pizza oven like a pro.
Understanding the Wood-Burning Pizza Oven
Before we dive into the usage, it’s essential to understand the basic components of a wood-burning pizza oven:
- Firebox: This is the lower part of the oven where the fire is created and maintained.
- Dome: The dome is the upper part of the oven, and it’s where the cooking occurs. The dome is designed to retain and radiate heat efficiently.
- Door: Some ovens come with a door to help regulate temperature. You can adjust the door’s position to control the heat inside the oven.
- Chimney: The chimney allows smoke and hot air to escape from the oven.
Using Your Wood-Burning Pizza Oven
Now, let’s get to the exciting part: making pizza!
1. Preheat the Oven
- Start by building a fire in the firebox using seasoned hardwood, such as oak, hickory, or fruitwood. Avoid softwood like pine, as it can produce resin and create a bitter taste.
- Allow the fire to burn for about 45 minutes to an hour to heat the oven thoroughly. You want to achieve a cooking temperature of around 800-900°F (430-480°C).
- Once the oven is heated, use a brush or mop to push the embers and ashes to the sides of the oven. This process helps prepare the oven floor for cooking.
2. Prepare Your Pizza Dough and Toppings
- While the oven is heating, prepare your pizza dough and gather your toppings. Keep it simple with tomato sauce, mozzarella cheese, and fresh basil or get creative with your favorite ingredients.
3. Assemble Your Pizza
- Roll out your pizza dough on a floured surface. Keep the crust thin to ensure quick and even cooking.
- Add your desired sauce and toppings, but don’t overload the pizza, as it may make it challenging to transfer into the oven.
4. Cooking the Pizza
- Use a pizza peel, a long-handled, flat wooden or metal paddle, to slide your pizza onto the oven floor. Make sure it’s well-dusted with flour or cornmeal to prevent sticking.
- The pizza will cook quickly, typically in about 90 seconds to 2 minutes. Use the pizza peel to rotate the pizza every 30 seconds for even cooking. If you see any burnt spots, adjust the pizza’s position accordingly.
5. Removing the Pizza
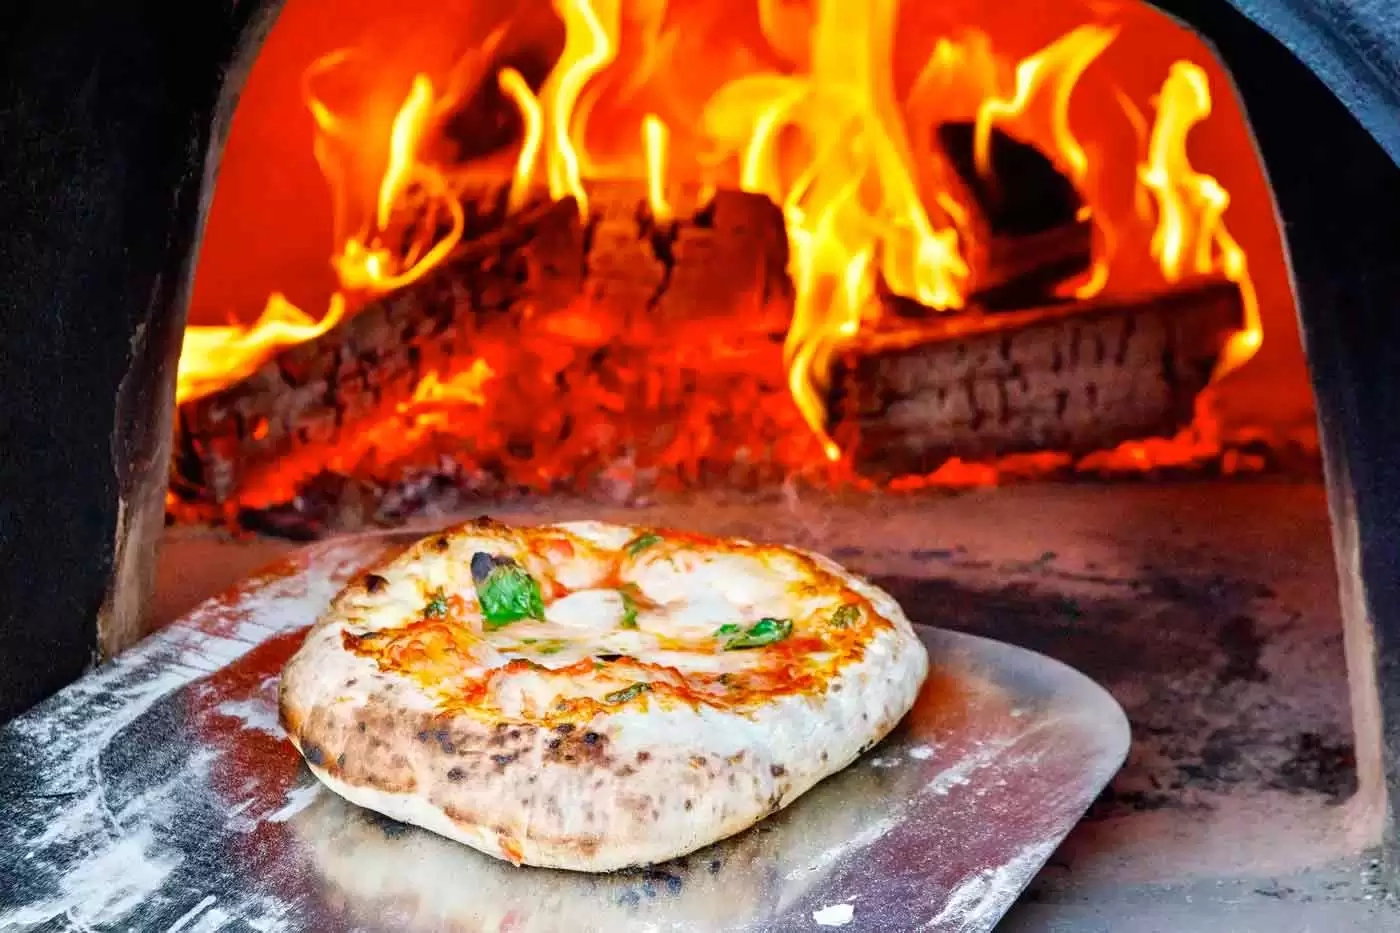
- When your pizza is perfectly cooked with a crispy, slightly charred crust and bubbling cheese, carefully slide the pizza peel underneath it to retrieve it from the oven.
- Allow the pizza to cool for a minute or two before slicing and serving.
6. Maintaining the Fire
- Throughout your pizza-making session, it’s important to keep an eye on the fire and add wood as needed to maintain the desired temperature.
7. Experiment and Enjoy
- Don’t be afraid to experiment with different toppings, dough recipes, and cooking times to create the perfect wood-fired pizza that suits your taste.
Using a wood-burning pizza oven may take some practice, but the result is well worth it. The combination of wood’s unique flavor and the intense heat of the oven will produce some of the most incredible pizzas you’ve ever tasted. So, roll up your sleeves, fire up the oven, and embark on a delicious journey into the world of wood-burning pizza. Before you know it, you’ll be impressing friends and family with your artisanal pizza-making skills.